
Taking pictures is not only a daily part of life for nearly everyone these days, but taking photos while traveling is an important part of making meaningful and lasting memories!
If you are planning to take a camera with you on your next trip, preparing yourself to take amazing pictures is worth the time! Here at Ethnotek, we are all travelers and most of us are enthusiastic about photography while we travel, so we gathered our most helpful tips to share with you and hopefully help you take some incredible photos!

Sunrise in Bagan, Myanmar. Photo: Adina Weinand
Up with the sunrise, down with the sunset
Some of the best light of the day happens when the sun is coming up, and when the sun is setting, which is also known as Golden Hour. When photos are taken in direct sunlight, sure, the light is bright but it is also harsh and makes colors less vibrant.
In the morning, you will see pastel pinks, blues, and oranges as the world around you is waking up. During the evening, a golden glow on everything around you is painted which not only makes your photos magical, but you can feel it too - there is something so special about witnessing sunrises and sunsets!

Rabari women in the Thar Desert. Rajasthan, India.
Know how to use light
A common mistake when taking photos is backlighting your subjects, or, taking the photo with the sun or light source behind them. This causes whatever you are photographing to be in the shadows.
A simple tip to make sure your photograph is nicely lit and nobody is hiding in a shadow is to shoot with the sun or light source behind you. Your shadow may show up in the photo, but you can usually move yourself around and get things just right!

Photo: Jay Wennington
Explore other camera modes besides automatic
Using the automatic mode on your camera will ensure that the aperture, ISO, and shutter speed are all ideal for the setting you are in - however playing with manual mode can be both fun and experimental!
If you are new to photography, you can start out by taking your photo using the automatic setting, then switching to other modes to play around with! You’ll come away with multiple views out of the same subject matter and can compare and contrast between the different settings to find the magic formula that works best for your photos!
Here are some of the modes you could start out with and what they mean:
Aperture priority mode or “Av”mode allows you to change the aperture while other settings adjust automatically. The aperture will change things like the depth of field of your photo, making your subject crisp and the background blurry and also the amount of light allowed into the photo.
Shutter priority mode or “Tv” mode allows you to adjust the shutter speed - or the length of time your shutter stays open. This is a great setting to play with when you have a tripod, are shooting at night, or shooting fast action sports and want to pause the whole scene as much as possible.
Manual mode gives you full control of everything on your camera: the shutter speed, the aperture setting, the ISO, and more. Once you start playing with the other settings on your camera, it’s a great idea to hop into manual mode when you are ready to challenge yourself!

Photo: Alexandru Stavrica
Use a tripod
Tripods are great for traveling alone, night photography, open shutters, and group photos! There are several portable tripods that are easy to take with you on your travels, and believe us, they are worth carrying with you!
A fun tip: use a tripod and create an animated GIF by taking several photos in the same frame and then stringing them together in a photo-editing program or GIF-making app!
Use more than one lens
Depending on what style of camera you have, you may be able to buy extra lenses to create dynamically different photographs.
There are three main types of lenses that will create different styles of photographs, and depending on what you are shooting, you can use each of these in different ways with amazing outcomes!

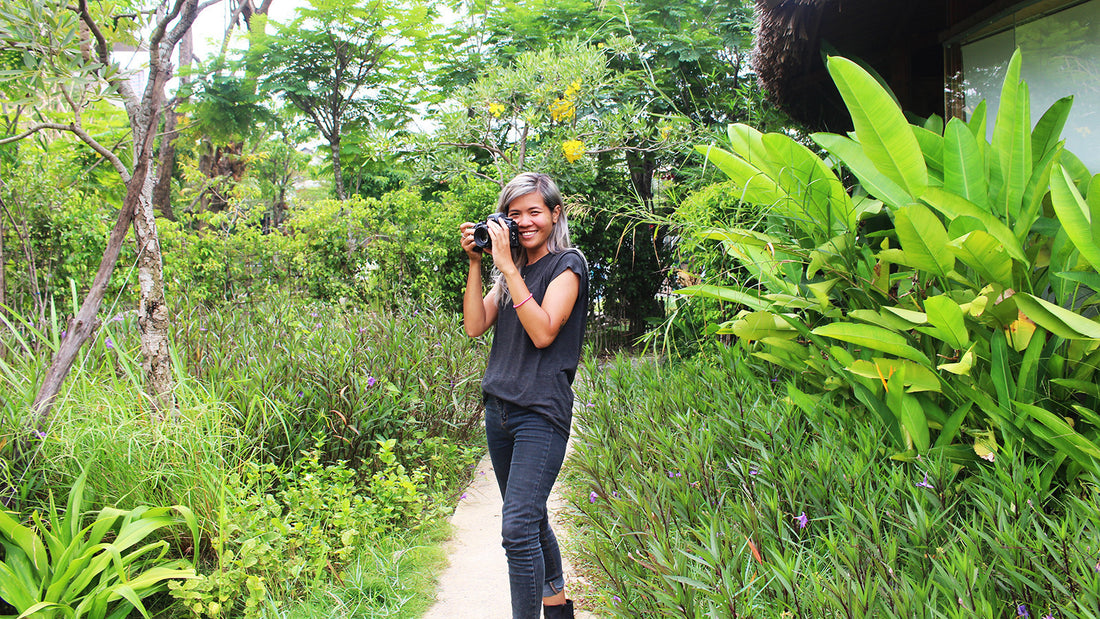
Use multiple lenses on a single camera body or multiple lenses AND multiple bodies like our Marketing Director Tiffiny does as seen here. Haha, she’s a badass!
Wide-angle lenses
You can have some real fun with wide angle lenses! They usually range anywhere from 14mm to 35mm. You can get these as a fixed lens or a zoom lens for more options. Note: if your camera is a crop-sensor, you won’t get the full aperture of the lens in your photos. Only full-frame cameras capture the entire width of the lens.
Shooting with wide angle lenses help capture more of the scene you are looking at and are great for just about any scenario from landscape, architecture, coastlines, group photos, and more.
Fixed or prime lenses
A “fixed,” lens is just that - it doesn’t move. Of course it still focuses, but if you have a 24mm fixed lens, it will only shoot 24mm aperture. These are great portrait lenses, and the most commonly-used portrait lens is a 50mm.
The fun thing about fixed lenses is that they are usually faster than other zoom lenses and do better in low light, and they are usually lighter and easier to lug around - perfect for traveling!
Telephoto or zoom lenses
Have you ever wondered how people get those incredible shots where a mountain is totally in focus and seems gigantic with a tiny person also in focus in the foreground? The answer: telephoto or zoom lenses.
To obtain the eye-catching photo quality mentioned above, you would want to use a lens that is at least 70mm or higher. Zoom lenses are also great for shooting buildings, animals, or anything you just can’t get close enough to.
Choose your locations beforehand
While there is fun to be had when you randomly stumble upon a place, it is also efficient to make a list of places you would like to take photos of. You don’t want to go to Paris without taking a snap of the Notre Dame Cathedral, right?
Making a “photography map,” is a great way to plan your shots - just pick up a city map of the area you are traveling, and make notes directly on the map. Of course, you can also use your phone, but if you ever print out your photos or scrapbook, it’s cool to have your map alongside of the photos you took!

Jaka above the Cham village, Phan Rang, Vietnam. Photo by Inra Jaya.
Rule of Thirds
Have you ever heard someone mention the ‘Rule of Thirds’? Not sure what it is? It’s a simple photography concept that will help you frame up a great shot.
The ‘Rule of Thirds’ states that when you are framing your photo, you can divide your photo into three sections, and place your subject in the right or left section for a more pleasing photo. It’s also a great reminder to make sure the horizon is straight!

Handmade shoes displayed in a local market. Rajasthan, India
Don’t only shoot landscapes or cityscapes
Of course you’ll want to shoot pictures of all the places you visit while on your travels - but be sure to “zoom in,” and get shots of the details: snaps of farmer's markets in Spain, a close-up of your morning espresso and crepe in Paris - overlooking the busy Rue, photos of people eating together in New Delhi, a slow-exposure of the morning motorbike traffic in Saigon..
There are so many amazing details to capture when you travel, so be sure to fold those in with your iconic landscape and city pictures!

Photo: Angelina Litvin
Protect your camera!
There are two important factors to consider when protecting your camera. One is the physical equipment and the other is all the wonderful photos you’ve taken!
A good case is a must for your camera and lenses if you are carrying more than one. In addition to a case, get insurance. Many travel insurance plans will protect your gear in addition to yourself. Research your plan options, and if you have renters or homeowners insurance, see if they cover your camera gear while abroad.
If you are shooting film, be sure to store your exposed rolls in a safe place, and leave them in your suitcase when you head out for the day. If you are shooting digital, backup your photos to your computer or an external hard drive...and then backup your computer! Even better, is a cloud-drive so that if your gear gets lost or stolen, your photos are safe within the virtual storage.
Losing your gear is not fun, but it is replaceable. However, losing your photos can be heartbreaking, but easy to avoid!
We hope this was helpful and let us know if any of these tips helped you take better photos!
Other photography tutorials we love:
Nomadic Matt - How to Take Professional Travel Photos
Matador Network - Beginner's Guide to Shooting in Manual Mode
Huffington Post - Top 10 Tips for Travel Photography